How to Shade Minecraft Hair: A Step-by-Step Tutorial
By Alhairstudio’s Expert Design Team
Welcome, Minecraft enthusiasts! The time has come to elevate your avatar’s aesthetic and bring it to life with personality and style. Our topic for today is a fun and exciting one: How to Shade Minecraft Hair. We’ve prepared an easy-to-follow guide to help you on this creative journey. Whether you’re a seasoned player or just starting out, this guide promises to be a worthwhile read. So, let’s get started and take your Minecraft avatar from ordinary to extraordinary!
Read also: How To Get Flarp Out Of Hair – Your Easy, No-Stress Guide
Understanding Minecraft Hair Shading
First things first, let’s delve into what exactly Minecraft hair shading is. For the uninitiated, shading is the technique used to add depth, detail, and realism to an object – in this case, your Minecraft avatar’s hair. It might sound complex, but it’s quite simple when broken down into steps. And that’s exactly what we’re here for!
Read also: Can Jehovah’s Witnesses Shave Their Pubic Hair? Unravelling Religious Practices and Personal Hygiene
Why Shade Minecraft Hair?
Shading your Minecraft avatar’s hair can add a touch of realism and unique style. It can help your avatar stand out in the crowd, reflecting your personal touch. Plus, the process of shading itself is fun and opens doors to a lot of creativity. Who knew a collection of pixels could be so expressive, right?
The Art of Shading: A Simple Technique
Before we move to the actual steps of shading, it’s essential to understand the basic concept. In essence, shading involves creating a gradient effect from darker to lighter tones, emulating how light interacts with real hair. You start with a base color, add darker tones (shadows), and then bring in lighter tones (highlights). Sounds exciting? It indeed is!
Read also: String Hair Wraps: Celebrating Cultural Diversity and Personal Style
Step-by-Step Guide to Shading Minecraft Hair
Here’s where the real fun begins. Let’s embark on this journey, step by step, to create a masterpiece out of your avatar’s hair. Remember, practice makes perfect. So, don’t fret if you don’t get it right the first go.
Step 1: Choosing Your Base Color
Begin with selecting the base color for your avatar’s hair. This color should be the medium shade in the gradient you’re aiming for. It’s the foundation upon which we will build shadows and highlights.
Read also: What Does Shaheeda Hair Look Like? A Comprehensive Guide
Step 2: Adding Shadows
Next, select a darker shade of your base color. This will be used to add shadows, providing depth and volume to the hair. Shadows are typically added at the roots and underneath the hair.
Step 3: Highlighting the Hair
Time to bring in some light! Choose a lighter shade of your base color to create highlights. They should be applied where the light would naturally hit the hair – generally at the crown, parting, and ends of the hair.
Step 4: Blending for a Natural Look
The final step is blending. Using an even lighter shade or a transparency tool, carefully blend the transitions between the dark, medium, and light tones. This gives a smooth gradient effect, elevating the overall look.
Conclusion
In conclusion, shading your Minecraft avatar’s hair is an excellent way to add realism, depth, and personal flair to your gaming experience. It’s a fun and creative process that engages your artistic side. Remember, your Minecraft avatar is an extension of you – so let it reflect your creativity!
Created with a passion for Minecraft and backed by Alhairstudio’s expertise, this guide was designed to help you on your journey. As you explore the world of Minecraft hair shading, remember to be patient, experiment, and, most importantly, have fun! Happy gaming!
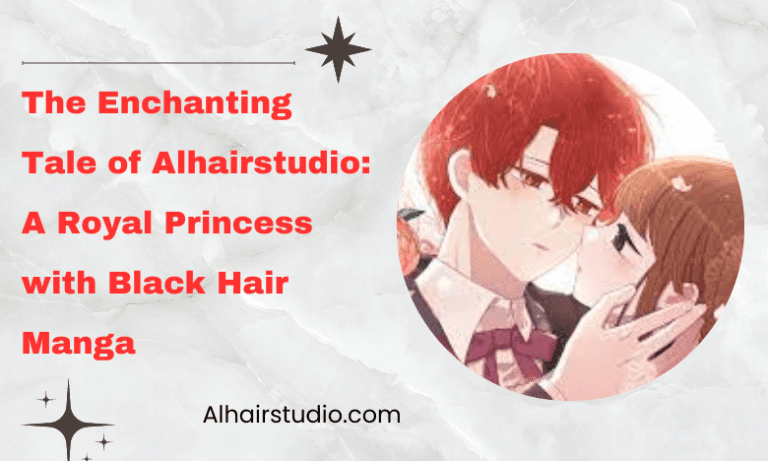
Read also: The Enchanting Tale of Alhairstudio: A Royal Princess with Black Hair Manga